Building an Inductive Charging Circuit for my Alternative Controller Game
As mentioned in the previous post, my alternative controller game will use a “brick” embedded with a Raspberry Pi 3 B+, a rechargeable battery, and an inductive charging coil. I want to create the illusion that the player is holding a real brick. Therefore the brick-shaped alt-controller has to be seamless and not include any holes for ports or have wires sticking out. This is why I would like the components inside of the controller to be powered by a battery, and then have them be powered using induction charging when the player returns it to a surface.
I’m still in the process of building this inductive charging circuit. Below are a few attempts and experiments at designing this circuit. If there any members of this community who have experience with powering Pi’s via battery and inductive charging, I would love to hear from you if you have any suggestions!
Initial Circuit Design
My initial circuit design consisted of a Raspberry Pi 3, a 1300mAh LiPo battery, and a 5V inductive charging circuit.
The LiPo battery has a voltage of 3.7V while the Raspberry Pi requires an input of 5V.
As a result, the battery couldn’t provide enough power to the Pi, which resulted in a sporadic connection. The red PWR LED light flickered on and off, and the Raspberry Pi was unable to appear online on Balena Cloud.
As a result, the battery couldn’t provide enough power to the Pi, which resulted in a sporadic connection. The red PWR LED light flickered on and off, and the Raspberry Pi was unable to appear online on Balena Cloud.
Using a 9V Battery
I had success powering the Pi with a 9V battery! I added the 9V battery to the inductive charging circuit, and the Pi was able to maintain consistent power even as I connected and disconnected the inductive charging coils.
As a next step, I will try using a rechargeable 9V battery whether it is able to consistently power the Pi. My only concern is that 9V batteries tend to run out of power quickly and that might become an issue when playing the game for long periods at a time.
Using a USB Power Bank
I tried using an Anker USB power bank to power the Raspberry Pi, while taking in current from the inductive charging circuit.
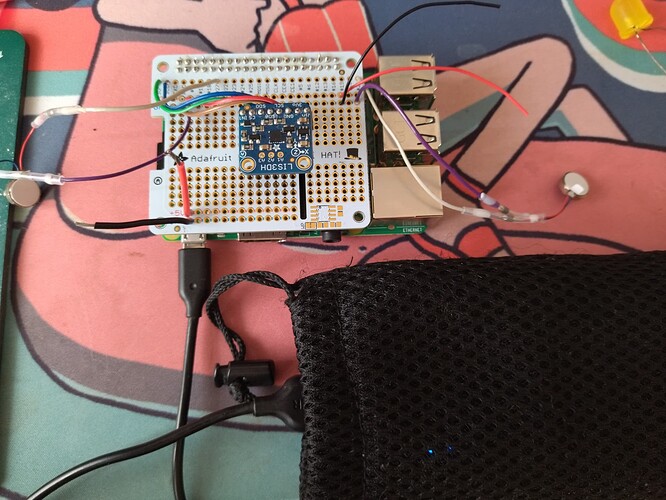
The brick was able to provide consistent power to the Raspberry Pi on its own (as pictured above). However, when I connected the brick to the inductive charging circuit, I realized that it was unable to charge and discharge at the same time.
The inability to charge and discharge is problematic because when the power bank is connected to the inductive charging circuit, all power to the Pi is cut off. I could see this being especially problematic in installation settings where users would keep moving and placing the brick controller on the inductive charging surface, and thus severing the controller’s connection to the digital game.
Exploring Fallbacks/Alternatives
While I’m developing the inductive charging circuit for the controller, I am also exploring alternative options of powering the controller.
The most obvious but least desirable option is to connect a wire to the Pi and power it from main. Gross! It breaks the illusion and ruins the desired aesthetic. Thank you, next. . .
Another more complex option would involve powering the Pi with a beefy power bank and taking it out of the controller’s casing when it runs out. Although a promising option, it raises other challenges. In this scenario, I would have to be able to open the case when necessary, but the case would have to be durable enough to not break open during prolonged periods of user interaction. I’m still a fabrication novice and I’m not sure which approach to take.
This aspect of my alternative controller is still very much a work in progress. I would love to hear from members of this community if you have any advice/solutions on tackling any of the issues described here!


