Team Table Flip: E-recycling at home to get your parts back

It’s getting harder (and more expensive) to get components for our projects. Three of us (@dragomir, @jmakivic, and @LookHere) came together to see what we could do to extract useful parts from other devices.

Originally we came together to start a project we called “Mini-Maker” which would use a 3d printer type setup combined with a really cool method being used on the JWST that enables quick jogging to a location and then very precise movement, all with just one motor per dimension. This could be useful for very fine movements with applications in areas like watchmaking, painting model trains, soldering of circuit boards, etc. (just using different heads for different jobs).

As we started work on the project, we shifted focus from construction to deconstruction. Our first prototype was “Table Flip”. The basic idea was that you’d load a part, flip the entire system over, it would unscrew every screw it found, and the pieces would fall into a bin below it. We pitched it to our peers and got some great feedback.

We developed a 3d prototype in blender to construct the parts we needed. The user would load in the piece (red in our mock-up)

and then flip the entire device upside-down.

The device would use a camera and machine learning to move in 3 directions to bring the tool in contact with the screw. The tool would have an electric screwdriver attached to unscrew the screw.

We were able to export all of the components and print them, though there was a printer error so we weren’t able to assemble them.

As we prototype the project we’ll make all of our files public so you can follow along and help if you’d like.

2 Likes

Our team Table Flip got back together this week to regroup after demoing our last prototype. Our goal was re-think the process to make it as easy as possible to build a working proof of concept. Our MVP is simple:

We want a machine that can make it easier to disassemble electronics for reuse or recycling.

To that end we thought about ways to minimize construction, which made us think about what we could recycle to build our recycling machine. Since most of our movement is based off systems developed by 3d printers, why not just modify a 3d printer?

A filament 3d printer already has a heat source, so we talked about trying to turn that into a soldering iron itself: putting something like a paperclip into the filament hole to transfer heat. Since we thought that people may not want to risk damaging their filament heads, we decided instead to build a mount for a usb soldering iron or soldering gun. The next goal to prototype would be to build something that works like this:

We decided to focus on de-soldering a perma-proto breadboard. These boards are very common in home projects and they often are connected to components we might want to use for the next project.

The solder side of these is often relatively simple which should help our machine learning. Instead of trying to teach an algorithm to identify transistors, resistors, chips, etc., using the perma-proto board means we just need binary classifier: is this a solder blob or not?

With most home solder melting between 450 and 460 K (360 and 370 °F; 180 and 190 °C) it should be relatively easy to remove parts a human has hacked together (in comparison to something a machine installed on an assembly line).

We still have our final goal as something that has multiple tool heads to disassemble much more complex electronics. Right now, we feel the best way to get there is to iterate on more simple working models.

Though we can’t stop talking about future upgrades, like:

  • having a system that jiggles the parts as we de-solder them to increase the chance they fall off the board
  • flipping the table (or having two cameras) so the computer knows which solder joints are connected to the same component; heating both of those right after each other increases the chance of that piece falling off the board
  • having the components fall on a copper inclined plane, so the melted solder sticks to the plane but the components fall down it

But for next steps, right now we’re working on:

  • researching how to directly control 3d printers (like this video https://www.youtube.com/watch?v=TA0nWntwQEc&t=3s)
  • looking for images of proto boards that have been soldered on (for the machine learning training)
  • organizing our ideas and updating our content to keep the community (you) in the loop

After deciding to build our device on top of a 3d printer, we needed to understand how a printer works so we can modify it for our own purposes.

In the normal use of a filament 3d printer, first a 3d model is created digitally. Then the digital file is passed through a slicer program which divides it into the layers that the printer will extrude on top of each other. The entire set of printing instructions is written out in G-code and sent to the printer.

Our process needs to work differently:

  • We are planning to have a camera identify solder by looking at the entire board. Then it needs to move the point of the soldering gun to each solder blob and heat it up. We plan to use our machine learning algorithm to look at camera data multiple times to make sure we’re aligned with the soldering blob. That should decrease the amount of calibration the end user needs to perform.
  • We may need to heat a solder blob multiple times to melt all of the solder off. The system will try to melt it, then use the algorithm to see if it was successful, and may need to try to melt it again for longer.
  • We also plan on allowing a human to override the what the computer is doing. This would allow someone to decide which components need to be disassembled, but would use the computer control to do the precise work.

None of this functionality would work with just sending one G-code file to the printer. So we needed to figure out how to stream the G-code. The live flexibility to change what the printer is doing makes this project much more robust to overcome unexpected hurdles.

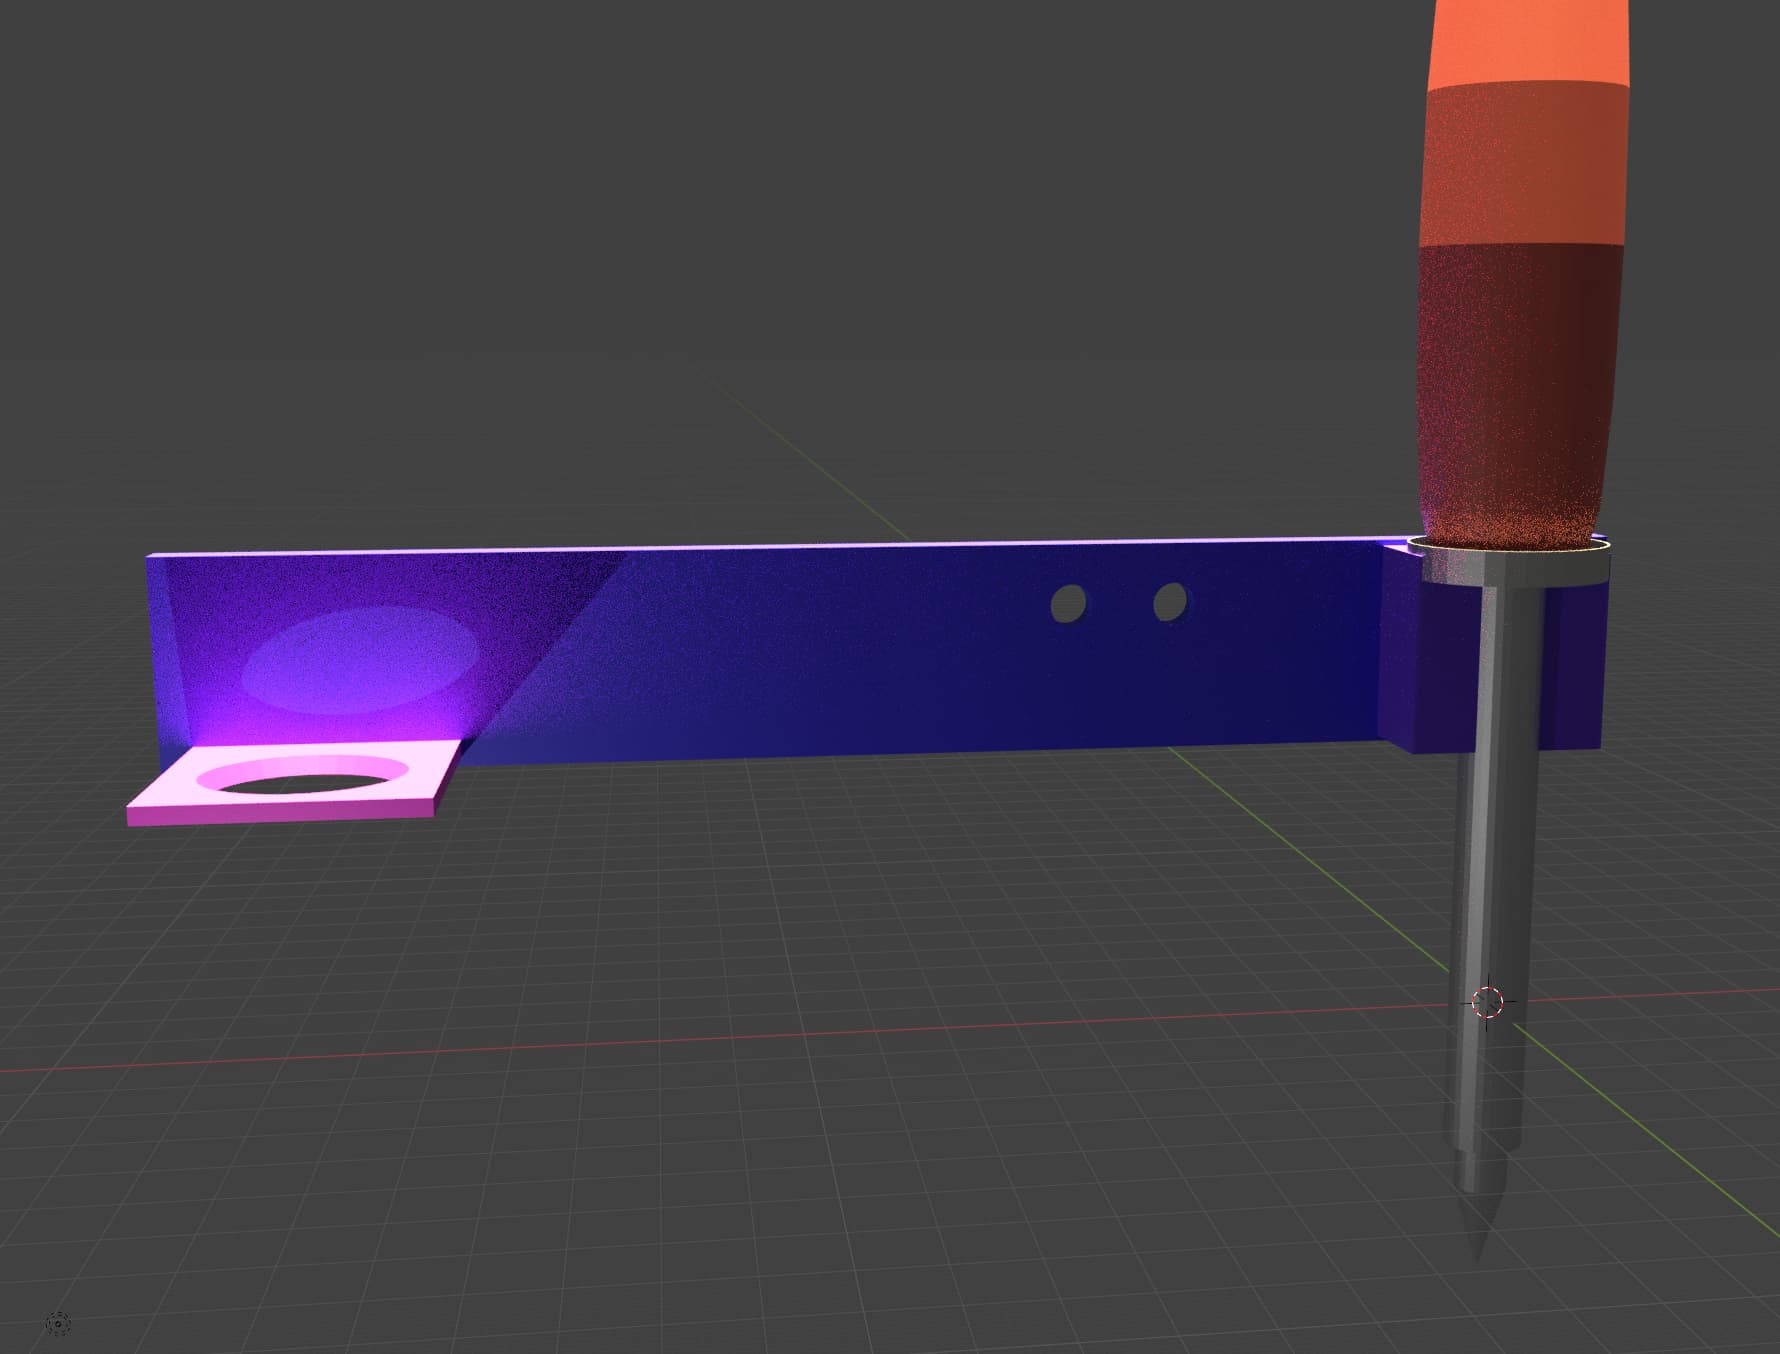
Here is a video where we live stream data from the keyboard to the 3d printer. As we build out the rest of the project we’ll change this so the machine learning algorithm will stream this data, not the keyboard. (Although we also plan on keeping the keyboard functionality to give the option for people who want to hand solder or desolder but may not have the physical capabilities).

We found that marlin firmware is used on many common printers (LulzBot, Průša Research, Creality3D, BIQU, Geeetech, and Ultimaker). By tapping into that firmware, we can provide access to a wide variety of printers, not just one brand.

If the printer is powered on, it will wait for G-CODE commands. It’s expecting this data over the USB port (it may be easier for you to use a USB-to-Serial adapter). All you need to do is connect to the port using a 115200 baud rate, and you should be able to send G-CODE commands that the printer will interpret live.

There are a lot of code commands, but here are the ones we’re starting with.

The most important function we need to perform is to incrementally move the printer head (which is where we’ll mount our soldering iron). With this command we can tell the printer head where to go based on the current position. The “E” stands from extruder; Marlin won’t let you perform anything if the extruder is not heated.

G0/G1 X<value> Y<value> Z<value> E<value>

If instead we want to move the head to an absolute position (not relative like the above) we could use this command
G92 X<value> Y<value> Z<value> E<value>

To perform that auto homing operation, we just need to run
G28

To set the position from relative to absolute, we can use
G90/G91

From that we were able to put together this code, which is how we controlled the 3d printer from the keyboard.
import serial, time, pygame, sys 

ser = serial.Serial('/dev/tty.usbserial-1130', 115200)  # open serial port
pygame.init()
display = pygame.display.set_mode((300, 300))

W_KEY = 119
S_KEY = 115
A_KEY = 97
D_KEY = 100
Q_KEY = 113
E_KEY = 101
I_KEY = 105
K_KEY = 107

X = 0
Y = 0
Z = 0

INC = 1

# autohome 
ser.write('G28'.encode())

while True:

    for event in pygame.event.get():
        if event.type == pygame.QUIT:
            pygame.quit()
            sys.exit()
         
        if event.type == pygame.KEYDOWN:

            if event.key == I_KEY: INC = INC + 1 
            if event.key == K_KEY: INC = INC - 1
            else:
                if event.key == W_KEY: X = X + INC
                elif event.key == S_KEY: X = X - INC
                elif event.key == A_KEY: Y = Y + INC
                elif event.key == D_KEY: Y = Y - INC
                elif event.key == Q_KEY: Z = Z + INC
                elif event.key == E_KEY: Z = Z - INC

                #move printer head 
                ser.write('G0 X{} Y{} Z{} \n'.format(X, Y, Z).encode())
            

            print("X:{}, Y:{}, Z:{}, Step:{}".format(X, Y, Z, INC))
1 Like

A machine learning component is needed so that the modified 3D printer will know where to apply the soldering iron on the board.

  1. The modified printer will take in a video stream of the board.
  2. The machine learning algorithm will identify solder blobs.
  3. The center of each identified blob will be sent to the 3d printer which will adjust the soldering iron.

This model was made using Edge Impulse. Julia collected roughly fifty images of PCBs with solder on them. She used bounding boxes to label the solder and the board in the training set. This training sample shows the image and labels which were used to train the model to identify the solder and the board.

trainingsample2

The testing samples show where the model was able to identify solder on the board.

testingsample1

testingsample3

The model doesn’t always detect all of the solder on the board, but it always correctly identifies solder. As we move forward on constructing this, we’ll re-train the model based on the images coming from the camera. Having more images and a more consistent view should help us increase the model’s accuracy.

If you want to see the model itself, here is where we’re working on it.

1 Like

After we developed our first design, we really didn’t feel comfortable with the amount of filament it used. It didn’t make sense to create more waste for a project that’s supposed to be decreasing it. We came together and agreed to some goals: that the final product should use the minimal amount of new material and that as many of the components as possible should be easily returned to their original function after use.

It was a major shift going from developing a stand alone product to a modification for a 3d filament printer. We had to throw out the entire physical platform we built and figure out how to use G-code for our guidance. But now the only new physical object that needs to be produced is a mount to hold the soldering iron and the camera. We designed that to be small, minimizing material to only a few grams. The mounting will depend on the type of camera, soldering iron, and printer used so it will be relativity unique to each set up, but it should be easy to modify our model for your specific set-up. At least we know everyone building this already has a home 3d printer.

Perfection is achieved, not when there is nothing more to add, but when there is nothing left to take away. -Antoine de Saint-Exupery

Our team had a lot of discussions on where to mount the camera. A fixed position would be easier, but we felt that it would be too complex to understand the absolute value of the camera, soldering iron, and solder blob at all times. This could generate a lot of calibration for the end user. Instead, if we mounted the camera with the soldering iron, then we could just use a relative measure to tell it to move a small amount in any direction.

In the future we may want to have two cameras, one above and one below the piece being desoldered. That way they could identify the solder from two different connections of the same component, heating those right after each other. We also thought about shining a strong light through the board so the camera could see the components on the other side. We paused both of these ideas for now, but wanted to remember them for possible future design.

We also wanted to decrease the effort to set this up. Originally we thought the soldering iron would temporarily take the place of the filament extruder. Instead, if we put the mount next to the extruder, we could leave it on all the time. We would only put the soldering iron in the mount when we needed it, but the mount would live on the printer even when it’s just printing.

In this layout, you can see the soldering iron (orange handle) on the right. It’s held in a purple support which is mounted to the long blue backplate. At the far left is a pink mounting for the camera (which will look down through the hole). The two holes in the blue plate are aligned to exactly fit the screws currently connecting the extruder to the printer. Having a thin back plate with the camera and soldering iron mount to the left and right of the filament head means that we should be able to install this once and go back to 3d printing without uninstalling it (we’d just need to take the soldering iron out). The entire set-up is one piece and should be very easy to print without much filament or any supports.

Getting slightly sidetracked from the goal of this project, we started to wonder about what applications there could be for a device that both had an active filament head and soldering iron. There could be some interesting artwork that involved 3d printing something while at the same time having a heating element mark and deform it. A more practical matter could be installing heat-set inserts. Since the 3d printer knows exactly where the print is, it could precisely line up the soldering iron above it and heat the metal insert, possibly while the 3d print is still warm. Making it easier to add in precise, threaded inserts to our models could open up some fun possibilities.

1 Like